Install Zeabur in an existing cluster
Set up a Zeabur Identity client and use Helm to install the management interface with passkey sign-in.
Register a Zeabur client in Zeabur Identity, store the client secret in the cluster, and install the Helm chart. Then open Zeabur, sign in with a passkey, and view existing namespaces.
Prepare sign-in and HTTPS
Section titled “Prepare sign-in and HTTPS”- A kubeconfig with admin rights for the target cluster, plus
kubectl, Helm 4, andzeabur-identityctl. - Kubernetes 1.30 or later. By default, the chart creates project member roles and uses
ValidatingAdmissionPolicyto limit which Namespace fields Developers can change. This API is generally available starting in 1.30. - Zeabur Identity with sign-in available over HTTPS, and a kube-apiserver that trusts the Kubernetes tokens it issues. See Zeabur Identity's get started guide for installation instructions.
- An HTTPS domain for Zeabur, a working Ingress controller, and a TLS secret for that domain. The examples use Traefik,
zeabur.example.com, andzeabur-tls. - The Zeabur version to install. The chart is published at
oci://ghcr.io/zeabur-oss/charts/zeabur, and its default image is pinned to the digest for the same version. See Release artifacts for download and verification instructions. The examples use<version>for the version number.
Zeabur's sign-in domain and the public domains for services you deploy later are configured separately. Get sign-in working for the management interface first, then prepare DNS and certificates for applications.
Register the Zeabur client
Section titled “Register the Zeabur client”The example uses https://identity.example.com as the Identity issuer. Replace both domains with their actual values, and run this command with the cluster admin's kubeconfig:
zeabur-identityctl client create zeabur \ --type confidential \ --audience kubernetes \ --display-name Zeabur \ --redirect-uri https://zeabur.example.com/auth/callback \ --home-url https://zeabur.example.com/ \ | kubectl apply -f -The command prints the client secret once, on stderr. Create the namespace, then read the value interactively in Bash rather than passing it as a command argument:
kubectl create namespace zeaburread -rs CLIENT_SECRETprintf %s "$CLIENT_SECRET" | kubectl -n zeabur create secret generic zeabur-oidc \ --from-file=client-secret=/dev/stdinunset CLIENT_SECRETAfter running read, paste the client secret and press Enter. Keeping the value out of command arguments prevents other users on the machine from seeing it in the process list. The chart records only the secret's name, so the value stays out of Helm's release records.
Install the management interface
Section titled “Install the management interface”Make sure zeabur-tls is in the zeabur namespace, then run:
helm install zeabur oci://ghcr.io/zeabur-oss/charts/zeabur \ --version <version> \ --namespace zeabur \ --set clusterName=production \ --set publicUrl=https://zeabur.example.com \ --set issuer.url=https://identity.example.com \ --set issuer.clientSecret.existingSecret=zeabur-oidc \ --set ingress.enabled=true \ --set ingress.className=traefik \ --set ingress.tls.secretName=zeabur-tlskubectl -n zeabur rollout status deployment/zeaburclusterName is the cluster name shown in the interface. The domain in publicUrl must match the client's callback domain. The chart refuses public URLs that use HTTP or include a path.
This installation adds Zeabur's Deployment, Service, Ingress, configuration, and plan key, along with the ClusterRoles and Namespace admission policy for project members. The chart doesn't bind the member roles to anyone. After signing in, an admin sets each person's access on the Members page.
Admins who sign in with an admin account have full cluster rights, with no additional setup in Zeabur. See Permissions for admin accounts, session limits, and the sign-in settings on the Settings page.
Sign in and check existing services
Section titled “Sign in and check existing services”Open https://zeabur.example.com and sign in with a passkey. Go to Projects, find an existing application under Other namespaces, and open it to view its services.
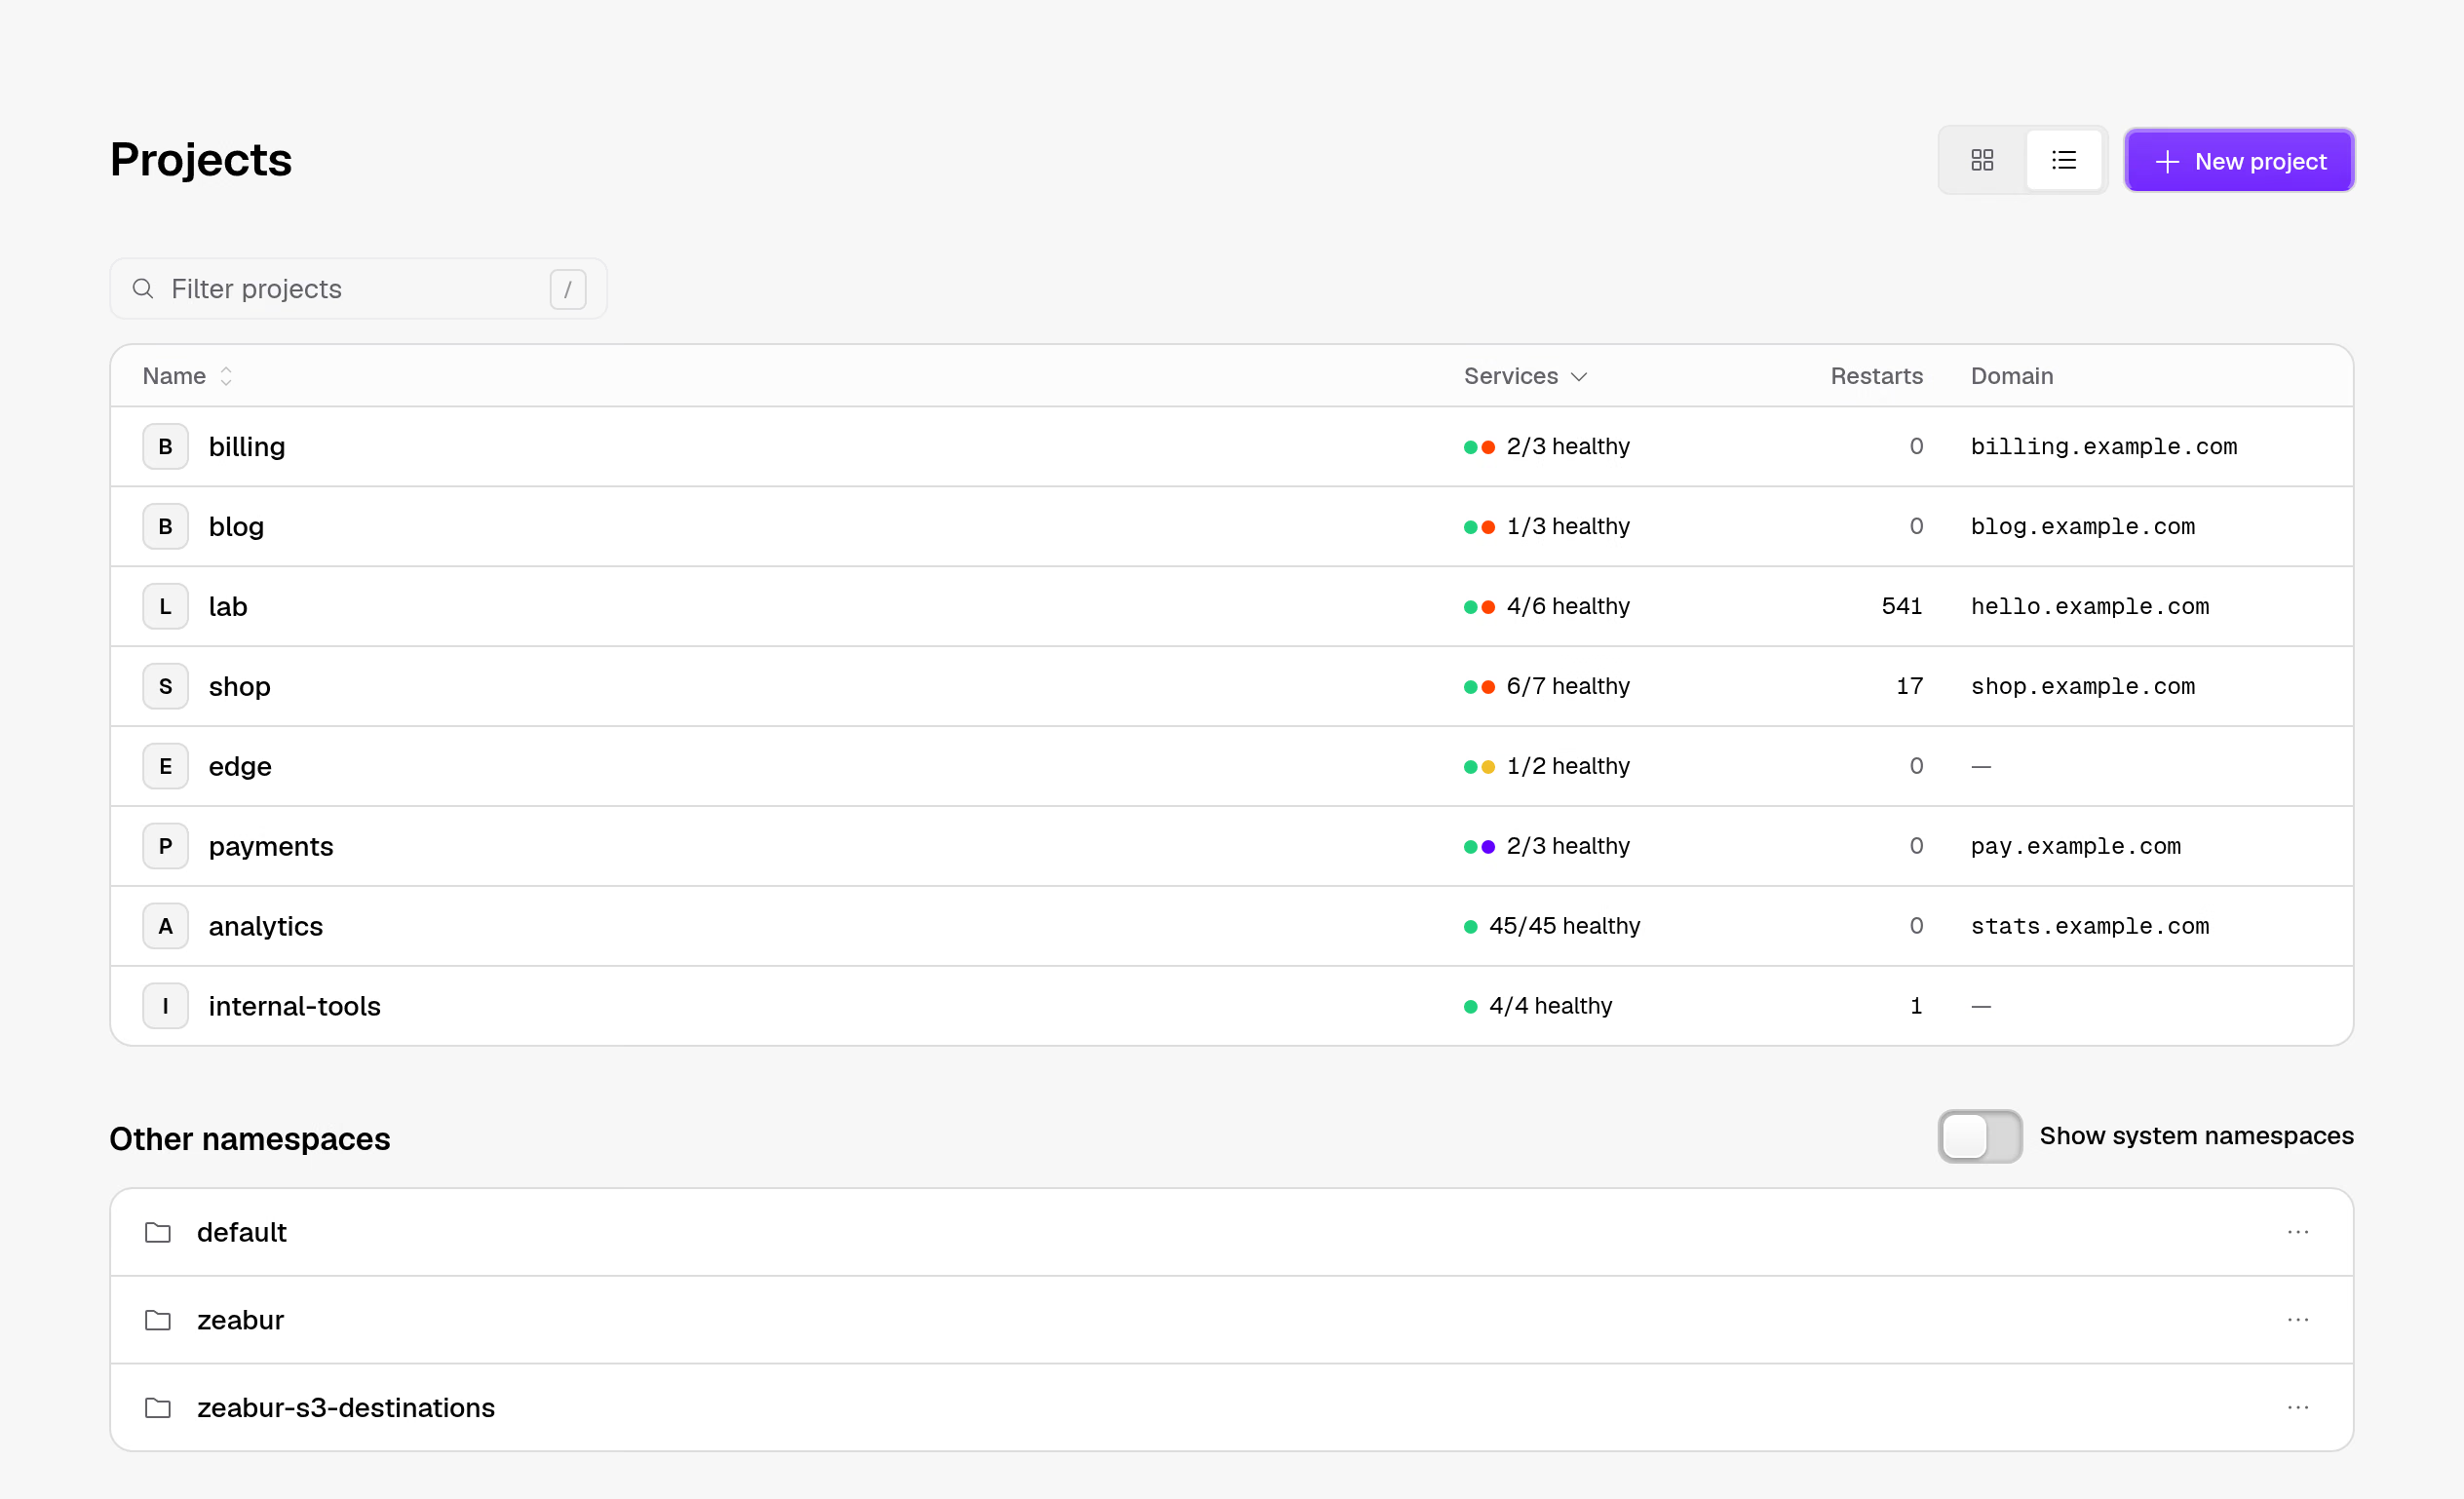
To keep it listed as a project, select Use this namespace, then review and apply the change. This only adds a project label. It doesn't move the Deployments, Services, or data inside.
If you can sign in but can't see services, check the user's Kubernetes rights first. Zeabur reads the cluster with the signed-in person's token. Zeabur's own ServiceAccount can only use kubectl terminal replicas in zeabur-terminals. An admin can grant project roles on the Members page.
Give new services a public URL
Section titled “Give new services a public URL”Prepare an application domain, such as apps.example.com. Point the DNS record for *.apps.example.com at the Ingress controller's address, and prepare a cert-manager ClusterIssuer that can issue certificates, such as letsencrypt. Update the same release:
helm upgrade zeabur oci://ghcr.io/zeabur-oss/charts/zeabur \ --version <version> \ --namespace zeabur --reset-then-reuse-values \ --set 'domains.suffixes={apps.example.com}' \ --set domains.clusterIssuer=letsencryptWith --reset-then-reuse-values, Helm starts from the new chart's defaults, including the image, then applies the values you set. With --reuse-values, Helm also keeps the old chart's defaults, and the image stays on the old version.
When you deploy web in the shop project, the form suggests web-shop.apps.example.com. You can list multiple application domains separated by commas; the first is the default. You can also change them later in the Domains section of the Cluster page, which checks DNS records and lists the records to add. See Set up DNS records. If domains.suffixes is empty, enter the full domain by hand. If domains.clusterIssuer is empty, new services' public URLs use HTTP.
These settings only name the issuer services should use. Prepare the ClusterIssuer and DNS first; Zeabur doesn't create them from these two values.
Trust a private CA
Section titled “Trust a private CA”If Zeabur Identity, a registry, object storage, or GitHub Enterprise uses a certificate signed by a private CA, or the cluster connects through a proxy that inspects TLS, put the CA certificates in a ConfigMap in Zeabur's namespace and set extraTrustedCA.configMap:
kubectl -n zeabur create configmap corp-ca --from-file=ca.crt=corp-ca.pemhelm upgrade zeabur oci://ghcr.io/zeabur-oss/charts/zeabur \ --version <version> \ --namespace zeabur --reset-then-reuse-values \ --set extraTrustedCA.configMap=corp-caIf the certificates are in a secret, set extraTrustedCA.secret instead. Use only one of these settings. The key is ca.crt by default; change it with extraTrustedCA.key. The file may hold several certificates.
Zeabur trusts these certificates in addition to the built-in Mozilla CA bundle when signing in to Identity, reading images, reading backups from object storage, and connecting to GitHub. Zeabur reads the file when it starts, so after you change the config file, run kubectl -n zeabur rollout restart deployment/zeabur.
zeabur-installer sets issuer.caBundle and builds.caBundle to reference the local CA that signs Identity's certificate and Zot's CA, respectively. Zeabur trusts them alongside extraTrustedCA, so you don't need to set them yourself.
Common failures
Section titled “Common failures”| Situation | What to check |
|---|---|
| The browser can't open Zeabur | Check public DNS, the Ingress class, the TLS secret, and connectivity to the entry point. Confirm the Deployment is ready before checking the entry point. |
| Sign-in doesn't return to Zeabur | Check publicUrl, the /auth/callback registered in Identity, and issuer.url. |
| Identity uses a private CA | Set extraTrustedCA so Zeabur trusts the CA that signed Identity's certificate. See Trust a private CA. |
| Read requests are denied after sign-in | Check the member's identity and groups in Identity, then check the target namespace's RoleBinding. See Permissions reference. |
| A new service is ready, but its URL doesn't work | Check the application domain's DNS and certificate. The management interface and applications use different domains, which need separate configuration. |
| You need to sign in again after an upgrade | The chart runs one Zeabur replica, and sessions live in memory. Replacing the replica requires signing in again. |
Manage the chart with GitOps
Section titled “Manage the chart with GitOps”Zeabur uses a key to sign reviewed changes. The chart creates that key on the first install and reads it back on subsequent helm upgrade runs. Argo CD and helm template generate manifests without connecting to the cluster, so they generate a new key each time, and the new key invalidates changes you reviewed but haven't applied yet. For these tools, create a fixed key first, then set planKey.existingSecret:
kubectl -n zeabur create secret generic zeabur-plan-key \ --from-literal=plan-key="$(openssl rand -hex 32)"Set planKey.existingSecret to zeabur-plan-key. To view all chart settings, run helm show values oci://ghcr.io/zeabur-oss/charts/zeabur --version <version>.
Install the components Zeabur needs
Section titled “Install the components Zeabur needs”If the cluster wasn't installed with zeabur-installer, Zeabur's components page only shows status; it doesn't install components. Use zeaburctl components export to print a component's manifests, then apply them with kubectl or commit them to a GitOps repository:
zeaburctl components export certificates/cert-manager --format flux > cert-manager.yamlFor K3s or RKE2 clusters, use the default helmchart format so the built-in helm-controller handles installation. For other clusters, use helm, flux, or argocd.
Remove the management interface
Section titled “Remove the management interface”helm uninstall zeabur --namespace zeaburApplications and the components that provide ingress, certificates, and storage stay in place. The member roles the chart created are removed with the release, so give members their rights another way. See Remove Zeabur for the full list of what stays and the steps to migrate sign-in.