Install with a config file and commands
Define installation options in YAML, review them with plan, and install with apply for repeatable, version-controlled installations.
Define installation options in /etc/zeabur-installer/config.yaml, review the plan with plan, and install with apply. Use this approach to keep the configuration in version control, repeat the same installation on multiple machines, or install through automation.
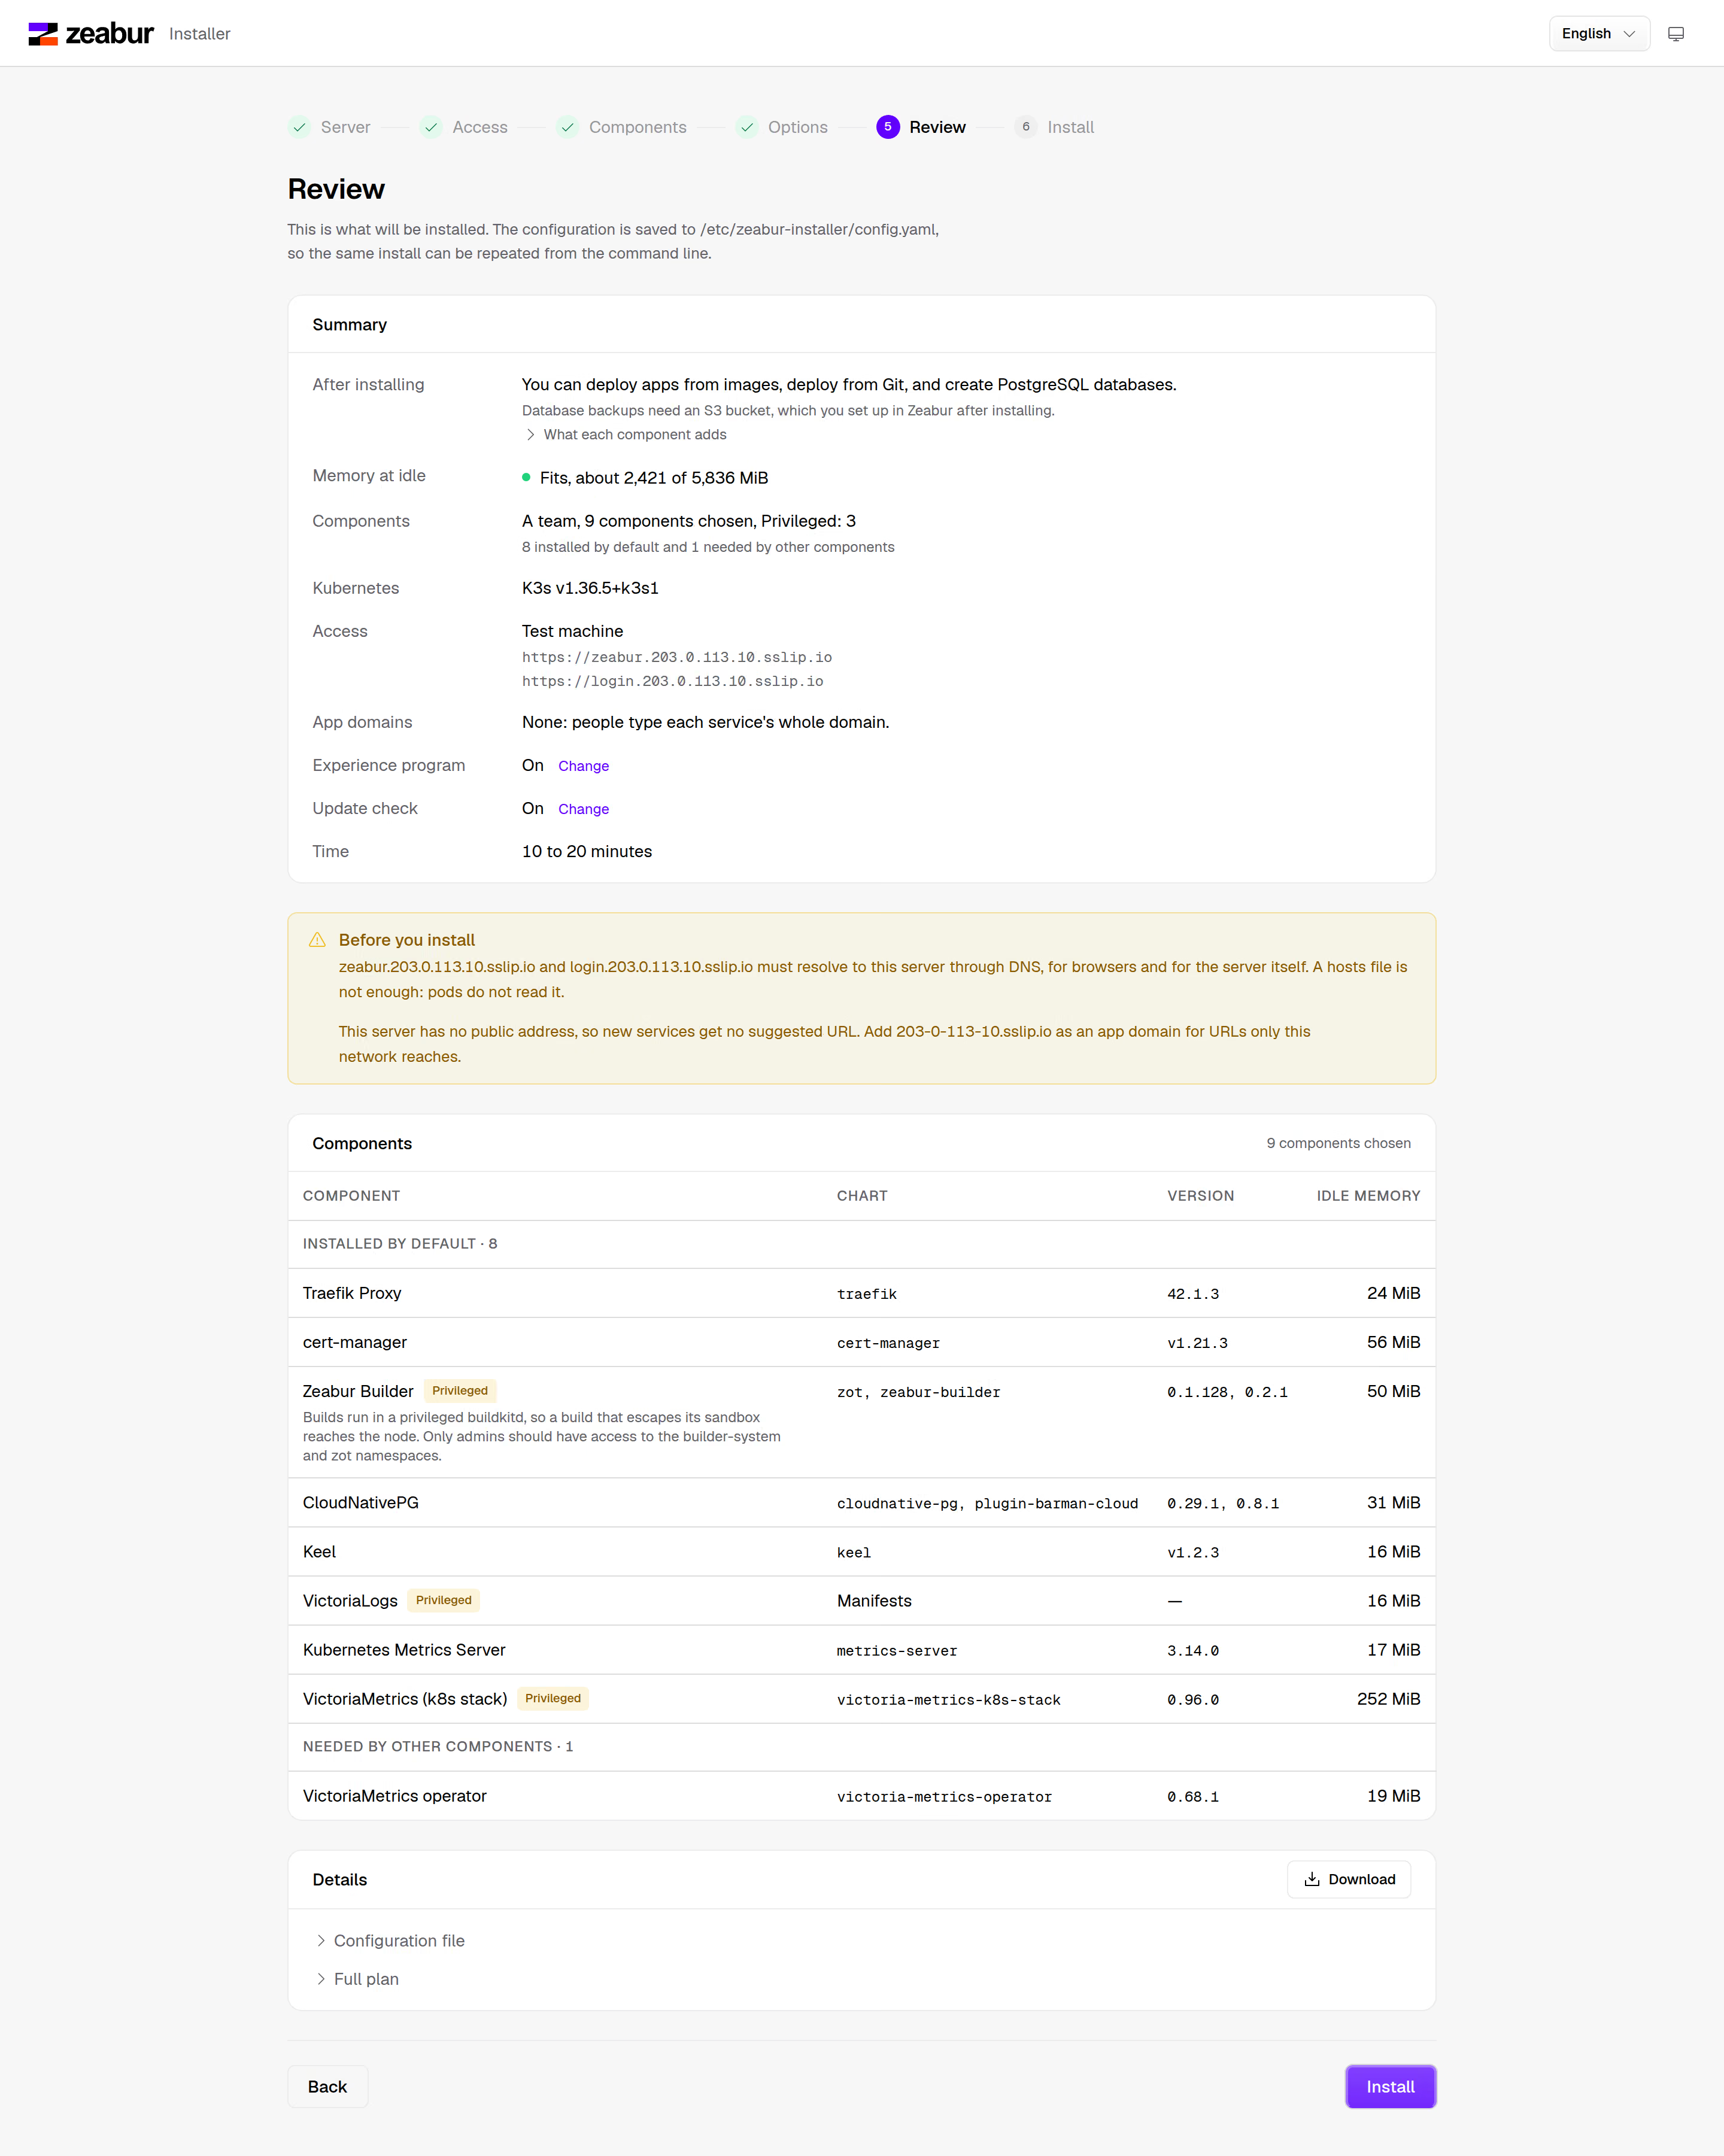
The web interface and commands read and write the same config file and install the same components. You can also download the config file from the web interface's “Review” step, then install from the command line.
Prepare the server and installer
Section titled “Prepare the server and installer”Prepare a host that meets the server requirements in the quickstart, and download the installer for its architecture.
Create the config file
Section titled “Create the config file”Create /etc/zeabur-installer/config.yaml as root. For public domains, the minimum configuration is:
access: mode: domain identity: login.example.com zeabur: zeabur.example.comReplace both domains with the ones you want to use. For DNS and port requirements in public domain mode, see connection options in the quickstart.
If you omit enable and disable, the installer installs the default components. If you omit profile, it uses single-node. If you omit distribution, it installs K3s. For a server with 8 GiB of memory or more, or to run the control plane on three servers later, add distribution: rke2.
For a test machine, use local mode instead:
access: mode: local identity: login.<address>.sslip.io zeabur: zeabur.<address>.sslip.ioReplace <address> with the server's address.
For all fields, see Installer configuration. The optional sources field lets you use your own builds of the Catalog, images, and charts. If you omit it, the installer uses its pinned versions.
Review the installation plan
Section titled “Review the installation plan”Run:
sudo zeabur-installer planplan runs host checks and lists the following without changing the host:
- Kubernetes distribution and version (K3s or RKE2).
- Components and charts.
- Namespaces.
- Storage classes.
- URLs.
- Estimated idle memory usage and warnings.
If any checks fail, the output indicates that apply will stop. Fix these issues before starting the installation.
For JSON output, run:
sudo zeabur-installer plan --jsonplan --json doesn't run host checks.
Without a config file, plan generates sslip.io names from the server's address and shows a preview with the default components. It uses domain mode when the server has a public address, and local mode otherwise. You must create a config file before running apply.
Run the installation
Section titled “Run the installation”After reviewing the configuration, run:
sudo zeabur-installer applyapply runs host checks first. If any check fails, it stops before making any changes.
Once the checks pass, it configures the host, installs K3s or RKE2 with CIS hardening, sets up namespaces and connection rules, configures storage, installs the selected components, and then installs Zeabur Identity and Zeabur.
apply determines what to install from the configuration at the time it runs. If you change the YAML after running plan, apply uses the updated configuration.
Resume an interrupted installation
Section titled “Resume an interrupted installation”After fixing the cause of the interruption, run the command again with the same configuration:
sudo zeabur-installer applyEach step checks what's already complete and resumes where it left off.
Register an admin account and sign in
Section titled “Register an admin account and sign in”When installation finishes, the terminal prints:
- The Zeabur URL.
- The Zeabur Identity URL.
- A passkey registration link for the first admin account.
In local mode, first import this certificate into your browser's or system's trust store:
/var/lib/rancher/zeabur-installer/local-ca.crtOpen the registration link, register a passkey, and then open the Zeabur URL to sign in.
Check the installation
Section titled “Check the installation”Run:
sudo zeabur-installer doctorThis checks K3s or RKE2, components, the default storage class, Zeabur Identity, and Zeabur.
| Exit code | Result |
|---|---|
0 | Healthy |
1 | Warning |
2 | Critical |
3 | Checks couldn't run, for example, because the command wasn't run as root |
Common issues and fixes
Section titled “Common issues and fixes”| Issue | Fix |
|---|---|
| A port is in use, for example, by another running Kubernetes installation | Stop the process using the port, or use a clean host, then run apply |
Certificates haven't been issued in domain mode | Check DNS for both domains and whether TCP port 80 is reachable from outside the host. Fix the issue, then run apply again |
The browser doesn't trust the certificate in local mode | Import /var/lib/rancher/zeabur-installer/local-ca.crt into your browser's or system's trust store |
| The registration link for the first admin account has expired | Run sudo zeabur-installer setup-link on the server to generate a new link |
Install with AI Agents
Section titled “Install with AI Agents”To have an AI Agent such as Claude Code or Codex follow this page for you, see Install with an AI Agent.
Command reference and adding nodes
Section titled “Command reference and adding nodes”For commands such as gui, doctor, node add, and uninstall, along with all options, see Installer commands.
To add more nodes, see Add and maintain nodes.